
how-to
How to Convert SVG to PNG (at Any Size)
By Uttam Regmi · Published 2026-07-28 · Updated 2026-07-28 · 7 min read · Fact-checked, sources cited
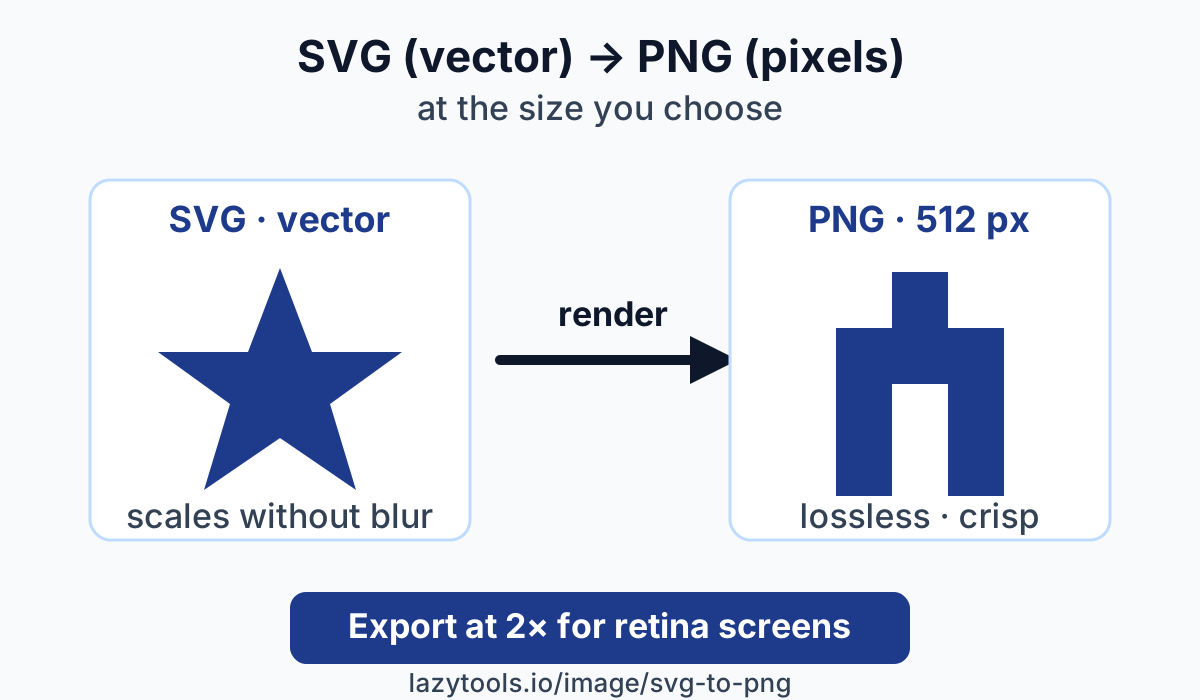
To convert SVG to PNG, you load the SVG onto a canvas at a size you choose and export a lossless PNG, that’s the whole method. An SVG is vector artwork (drawing instructions, not pixels), so it scales to any size without blurring; a PNG is a fixed grid of pixels. Many apps, upload forms, chat tools, and thumbnails need the raster PNG. The SVG to PNG converter does it in your browser with the Canvas API, pick a size, optionally a background, and download. Nothing is uploaded.
Why you’d rasterize an SVG
An SVG stores a drawing as instructions, “a circle here, this path there, filled with that colour”
, which is why it stays razor-sharp at any size. That’s perfect for logos and icons. But a lot of
the world only speaks pixels. Upload forms often reject .svg, chat and messaging apps won’t render
it inline, app stores and social platforms want fixed-size raster icons, and thumbnails, email
signatures, and many document workflows expect a PNG. Rasterizing, turning the vector into pixels, gives you a file those places accept, while you keep the SVG as the master you can re-export from
whenever you need a different size.
There’s also a security angle. Because an SVG is code, some platforms strip or block it to avoid embedded scripts and external references. A PNG is inert image data, so it sails through filters that reject vectors. That’s another reason so many upload paths, avatars, cover images, marketplace listings, quietly demand a raster format even when a vector would look nicer.
SVG vs PNG at a glance
The two formats aren’t competitors so much as different stages of the same pipeline: design in the vector, ship the raster.
| Property | SVG (vector) | PNG (raster) |
|---|---|---|
| What it stores | Drawing instructions | A fixed grid of pixels |
| Scaling | Any size, no blur | Fixed; enlarging softens it |
| Transparency | Yes | Yes (alpha channel) |
| Compression | Lossless (text) | Lossless |
| Animation | Yes (SMIL/CSS) | No (that’s APNG) |
| Broad app support | Patchy | Nearly universal |
| Best for | Master artwork, logos, icons | Uploads, thumbnails, exports |
How to convert SVG to PNG
The conversion is a short, well-defined sequence, and it’s exactly what a browser tool automates:
- Load the SVG into an image. The browser parses the vector so it can be drawn.
- Read the viewBox (or width/height). This tells you the artwork’s aspect ratio so the PNG isn’t stretched or squashed.
- Choose an output size. Decide the pixel dimensions you want. This is where you take advantage of SVG being resolution-independent.
- Draw it onto a canvas at that size. The Canvas API renders the vector into pixels at your chosen dimensions.
- Export a PNG. PNG is lossless, so what you get is crisp at the size you picked.
With the SVG to PNG converter you drop in the file, set a size (and a background if you need one), and download the result. Every step runs on your device.
What size to export (and retina)
Export at the size the PNG will actually be shown. If it’s a 512×512 app icon, render 512×512; if it’s a 200-pixel-wide logo, render 200 wide. Because the source is a vector, you’re never limited by an “original resolution”. You can render at any size without blur, which is the big advantage over converting one raster to another.
The one adjustment worth making is for high-density (retina) displays. These screens pack two or three physical pixels into each layout point, so a PNG exported at exactly the display size can look soft. Export at 2× (or 3×) the display size and let the screen show it at the intended dimensions. It stays crisp. A logo meant to appear 200px wide? Export it 400px wide. The rule of thumb: when in doubt, export larger. You can always scale a PNG down cleanly, but scaling one up softens it.
Here’s how that plays out for common targets. Pick the row that matches where the image lives, then export at the pixel size for the density you’re targeting:
| Where it appears | Display size | Export at 2× | Export at 3× |
|---|---|---|---|
| Favicon / small UI icon | 32×32 | 64×64 | 96×96 |
| Email-signature logo | 150×50 | 300×100 | 450×150 |
| In-article hero mark | 200×200 | 400×400 | 600×600 |
| App icon (store listing) | 512×512 | 1024×1024 | , |
For fixed-spec targets like app-store icons, follow the exact dimensions the platform documents rather than a multiplier. Those slots already expect the full-resolution asset. The 2×/3× rule is for artwork that will be displayed smaller than it’s exported.
A worked example
Say you’ve designed a logo in an SVG with viewBox="0 0 300 100", a 3:1 aspect ratio, and you need
it as a 600-pixel-wide PNG for a website header on retina screens (where it’ll actually show at
300px). You set the width to 600; because you keep the aspect ratio, the height follows
automatically to 200 (600 ÷ 3). The tool draws the vector onto a 600×200 canvas and exports a
lossless PNG. Displayed at 300×100 on a 2× screen, every edge stays sharp because the file carries
twice the pixels the layout asks for.
Now suppose the same logo is going into a printed flyer at 2 inches wide. Print typically targets 300 dots per inch, so 2 inches × 300 = 600 pixels wide, the same export, but arrived at from the physical size instead of a screen multiplier. And because print usually flattens transparency, you’d set a white background before exporting so the transparent areas don’t turn black on the press.
Transparent vs white background
SVGs are usually transparent, and the exported PNG keeps that transparency. Whether you want it depends entirely on where the PNG is going:
| Background | Use it when | Because |
|---|---|---|
| Transparent | Logos, icons, watermarks, overlays on coloured or photo backgrounds | PNG supports an alpha channel, so the mark sits cleanly on anything |
| White / solid | Filling a JPEG slot, some chat apps, printing, forms that reject transparency | JPEG has no transparency; without a solid fill, transparent areas can turn black or grey |
If your destination is a JPEG (or anything that flattens transparency), set a white or solid background before exporting rather than discovering black edges afterward.
Common mistakes
Most bad conversions come from a handful of avoidable slips:
- Exporting too small, then scaling up. A PNG is fixed pixels; enlarging it softens the image. Export at the final size, or larger, from the start, and re-export from the SVG if you need it bigger later.
- Leaving it transparent for a JPEG target. A transparent PNG dropped into a JPEG slot (or a print job) can come out with black or grey backgrounds. Add a white/solid background for those.
- Losing the aspect ratio. Setting width and height independently without honouring the SVG’s viewBox stretches the artwork. Keep the ratio from the viewBox and change one dimension, letting the other follow.
- Expecting the PNG to stay scalable. It won’t, the scalability lived in the SVG. Keep the SVG as your master and treat each PNG as a fixed-size export for one purpose.
Convert it locally
Converting SVG to PNG is genuinely simple: pick the size, keep the aspect ratio, choose a background if the target needs one, and export a lossless PNG, rendering at 2× for retina. There’s no reason to upload artwork to a server to do it. The SVG to PNG converter runs entirely in your browser with the Canvas API, so your file never leaves your device. From there you might turn a logo into a full favicon set, or use the image converter to move between PNG, JPEG, and WebP, all local, all private.
Frequently asked questions
How do I convert SVG to PNG?
Load the SVG into an image, read its viewBox or width and height to keep the aspect ratio, then draw it onto a canvas at your chosen output size and export a PNG. PNG is lossless, so the raster is crisp at the size you picked. A browser-based tool like LazyTools does all of this on your device. You choose a size, optionally a background, and download the PNG. Nothing is uploaded.
What size PNG should I export?
Export at the size the PNG will actually be displayed, a 512×512 app icon, a 200-pixel-wide logo, whatever the target needs. Because an SVG is resolution-independent, you can render at any size without blur. For high-density (retina) screens, export at 2× or 3× the display size so the image stays sharp when the screen packs extra pixels into each point.
Why is my PNG transparent or black?
SVGs are usually transparent, so the exported PNG keeps that transparency, which is what you want for logos and overlays. It can look 'black' simply because a dark viewer sits behind the transparent pixels. If the target doesn't support transparency (a JPEG slot, some chat apps, print), choose a white or solid background before exporting.
Does converting keep the SVG sharp?
Yes, at the size you export. PNG is lossless, so the raster is crisp at the chosen dimensions. The only thing that softens a PNG is scaling it up afterward, a PNG is fixed pixels and can't rescale like a vector. If you need it bigger later, re-export from the SVG at the larger size instead of enlarging the PNG.
Is my SVG uploaded anywhere?
Not with a client-side tool. LazyTools converts SVG to PNG entirely in your browser using the Canvas API, the file is read, rendered, and exported on your own device, and nothing is sent to a server. You can confirm it by converting with your internet disconnected.
What's the difference between SVG and PNG?
An SVG is vector artwork, drawing instructions, not pixels, so it scales to any size without blurring. A PNG is a raster: a fixed grid of pixels at one resolution. SVG is ideal for logos and icons you resize freely; PNG is what most apps, upload forms, chat tools, and thumbnails actually accept.